
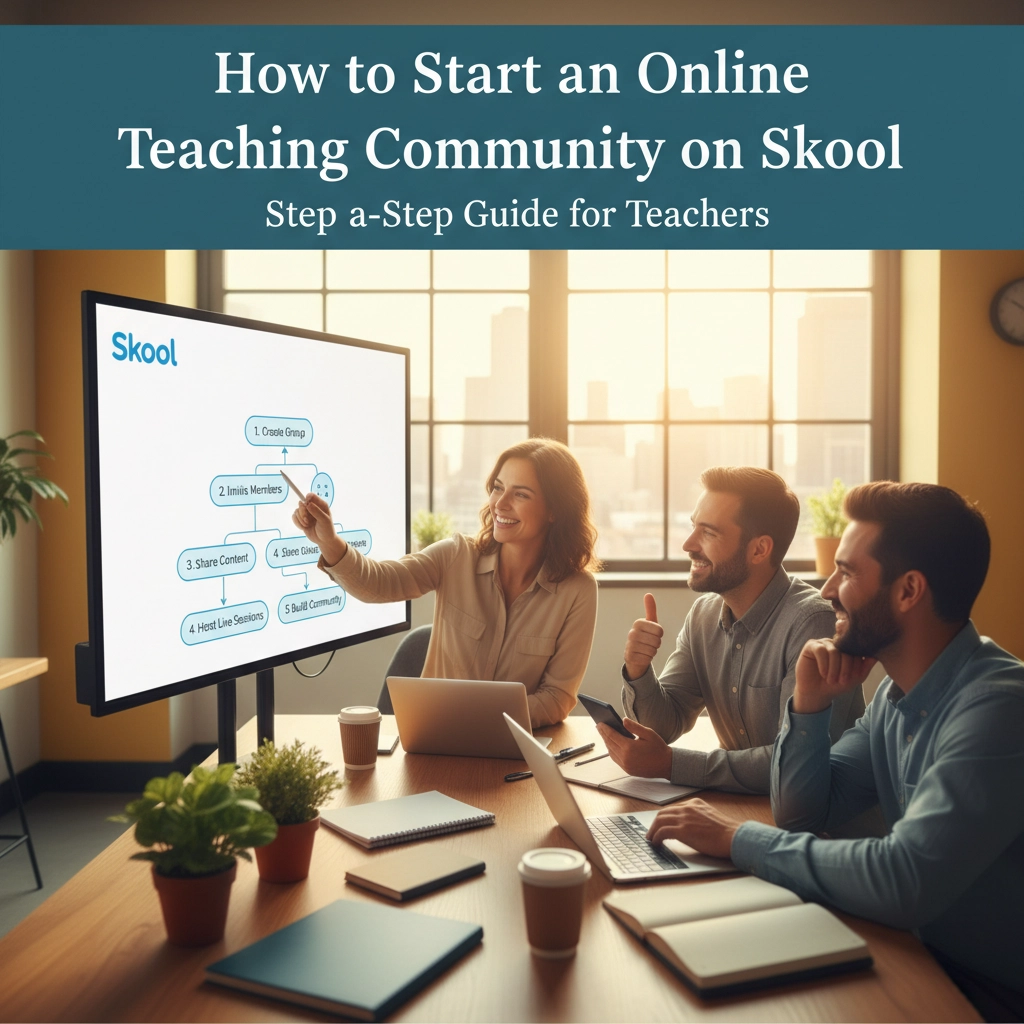
Ready to turn your teaching expertise into a thriving online community? Skool might just be the perfect platform for you. This all-in-one community platform combines the best of social media engagement with powerful course delivery tools, making it incredibly popular among educators who want to build meaningful connections with their students.
Unlike juggling multiple platforms, Skool gives you everything in one place: discussion boards, course hosting, event scheduling, and member management. The best part? You don't need to be tech-savvy to get started. Let's walk through exactly how to set up your teaching community step by step.
Why Choose Skool for Your Teaching Community?
Skool stands out because it's designed specifically for learning communities. Your students can engage in discussions, access your courses, join live events, and track their progress all in one seamless experience. The platform's gamification features keep students motivated, while the clean interface keeps everyone focused on learning rather than getting distracted by unnecessary features.
Plus, with a 14-day free trial, you can test everything out before committing to the $99 monthly subscription.
Step 1: Set Up Your Account and Choose Your Community Type
Head over to Skool and create your account. During setup, you'll need to decide between a public or private community. Public communities are discoverable and anyone can join, while private communities require approval for new members.
For most teaching communities, private works best because it gives you control over who joins and helps create a more intimate learning environment. Choose a community name that clearly reflects what you teach or the transformation you help students achieve.

Step 2: Brand Your Community Like a Pro
Your visual branding is the first thing potential students will see, so make it count. Upload a professional profile picture and banner that align with your teaching style and subject matter. Keep your colors consistent with any existing brand materials you use.
Write a compelling community description that answers the key question: "What will I gain by joining this community?" Be specific about the outcomes students can expect. Instead of "Learn math," try "Master algebra concepts that prepare you for advanced calculus."
Your About page is crucial here. Add a welcome video or image introducing yourself and explaining exactly what value members will receive. This personal touch helps build trust before students even join.
Step 3: Organize Your Discussion Space
The Community tab functions like a social media feed where all the magic happens. Create 3-4 discussion categories to keep conversations organized without overwhelming your members.
Great category examples include:
- Welcome & Introductions
- Q&A and Help
- Success Stories
- Resources and Links
Keep it simple at first. You can always add more categories as your community grows and you see what types of discussions naturally emerge.
Step 4: Build Your Course Content in the Classroom
The Classroom tab is where your actual teaching content lives. Here you'll create courses organized into clear modules and lessons. Since Skool doesn't host video files directly, you'll upload your videos to platforms like YouTube, Vimeo, or Loom, then embed the links in your lessons.
This setup actually works in your favor because it keeps your course pages clean and fast-loading. Beyond videos, you can add text content, worksheets, and downloadable resources to create a complete learning experience.

Pro tip: Start with one foundational course rather than trying to create everything at once. You can always expand your course library as your community grows.
Step 5: Set Access Levels That Make Sense
One of Skool's most powerful features is the ability to customize access based on membership levels. You might offer basic discussions and one introductory course to all members, while reserving advanced courses for students who reach higher levels.
This creates a natural progression path that keeps students engaged and gives them something to work toward. You're essentially building a learning journey rather than just dumping content.
Step 6: Schedule Events and Office Hours
Use the Calendar tab to create recurring events like group coaching calls, Q&A sessions, or virtual office hours. While Skool doesn't host video calls directly, you can easily add Zoom or Google Meet links to your events.
Set up automated reminders so students never miss important sessions. The platform will display event banners in the community feed as events approach, which helps build anticipation and attendance.
Regular live interaction is what transforms an online course into a genuine community. Even if you start with just one monthly call, this face-to-face time makes all the difference.
Step 7: Gamify for Maximum Engagement
Skool's gamification features are incredibly effective for keeping students motivated. Create levels that students unlock by participating in discussions, completing courses, or helping other members.
Set up your point system thoughtfully. You might award points for:
- Completing lessons
- Posting helpful responses
- Sharing wins or progress updates
- Attending live events
Display leaderboards to recognize your most engaged members. This creates healthy competition and gives students another reason to stay active in your community.

Step 8: Streamline Member Management
Connect your bank account in the subscriptions section to start accepting payments from students. You can offer different pricing tiers, from free access to basic content up to premium memberships with full course access.
Create signup questions that help you understand new members' goals and experience levels. This information is gold for tailoring your content and knowing how to best help each student.
Consider setting up automation through Zapier to send personalized welcome messages or gather additional insights about your members.
Step 9: Create Your First "Start Here" Post
Once everything is set up, create a pinned "Start Here" post that welcomes new members and explains how to navigate your community. This orientation post should:
- Welcome them personally
- Explain the community rules and culture
- Show them how to access different sections
- Encourage them to introduce themselves
- Point them toward their first action step
Pin this post so it's always the first thing new members see. This simple step dramatically improves the new member experience and helps people feel confident about participating right away.
Making Your Community Thrive from Day One
The technical setup is just the beginning. Your community will thrive when you focus on connection and value from the start. Show up consistently, celebrate student wins, and be genuinely helpful in your responses to questions.
Start conversations by sharing your own insights and asking thoughtful questions. Model the kind of engagement you want to see from your members. Remember, people join for the content but stay for the community feeling.

Don't worry about having hundreds of members right away. A small, engaged community is infinitely more valuable than a large, inactive one. Focus on creating genuine connections and delivering real value, and growth will follow naturally.
Ready to Build Your Teaching Community?
Starting an online teaching community on Skool doesn't have to be overwhelming. Take it one step at a time, focus on serving your students well, and remember that every expert was once a beginner.
The most important step is simply getting started. Your teaching expertise combined with Skool's powerful platform can create something truly special for your students.
Want to connect with other educators who are building their own online teaching businesses? Join our free Teacherpreneurs community where teachers support teachers in creating freedom, income, and impact through online education. Click here to join and start building alongside fellow educators who understand your journey.
Your students are waiting for what you have to teach. Now you have the roadmap to reach them in a whole new way.